Replacing Printer Fusers Safely: A Complete Step-by-Step Guide
Published on: January 18, 2025 • Category: Maintenance
The fuser is one of the most important components inside a laser printer. It uses heat and pressure to bond toner to paper, ensuring clean, durable prints. Over time, the fuser may wear out or trigger error messages, causing smudging, repeated marks, paper jams, or poor print quality. This guide explains how printer fusers work, how to identify signs of fuser failure, and how to replace them safely while maintaining your printer’s performance.
What Is a Printer Fuser?
A fuser assembly consists of a heated roller and a pressure roller. During printing, toner powder is transferred onto paper, and the fuser permanently melts the toner into the fibers. Without a functional fuser, prints may come out faint, smeared, or easily rub off the page.
Common Signs of a Faulty Fuser
You may need to replace the fuser if you notice any of the following:
- Repeated marks or ghost images on prints
- Smudged or streaked printouts
- Wrinkled or unevenly heated paper
- Frequent paper jams near the output area
- Fuser-related error codes on the printer display
Recognizing these signs early helps prevent further damage to internal components.
1. Turn Off and Unplug the Printer
Safety is the top priority when replacing a fuser. Action: Switch off the printer, unplug it from the power outlet, and allow the machine to cool. Fusers operate at high temperatures, so waiting at least 20–30 minutes is recommended.
2. Open the Printer’s Rear or Front Panel
Many laser printers have the fuser located at the rear side, while others place it near the output tray. Tip: Refer to your printer’s manual to identify the correct location and instructions for accessing the fuser compartment.
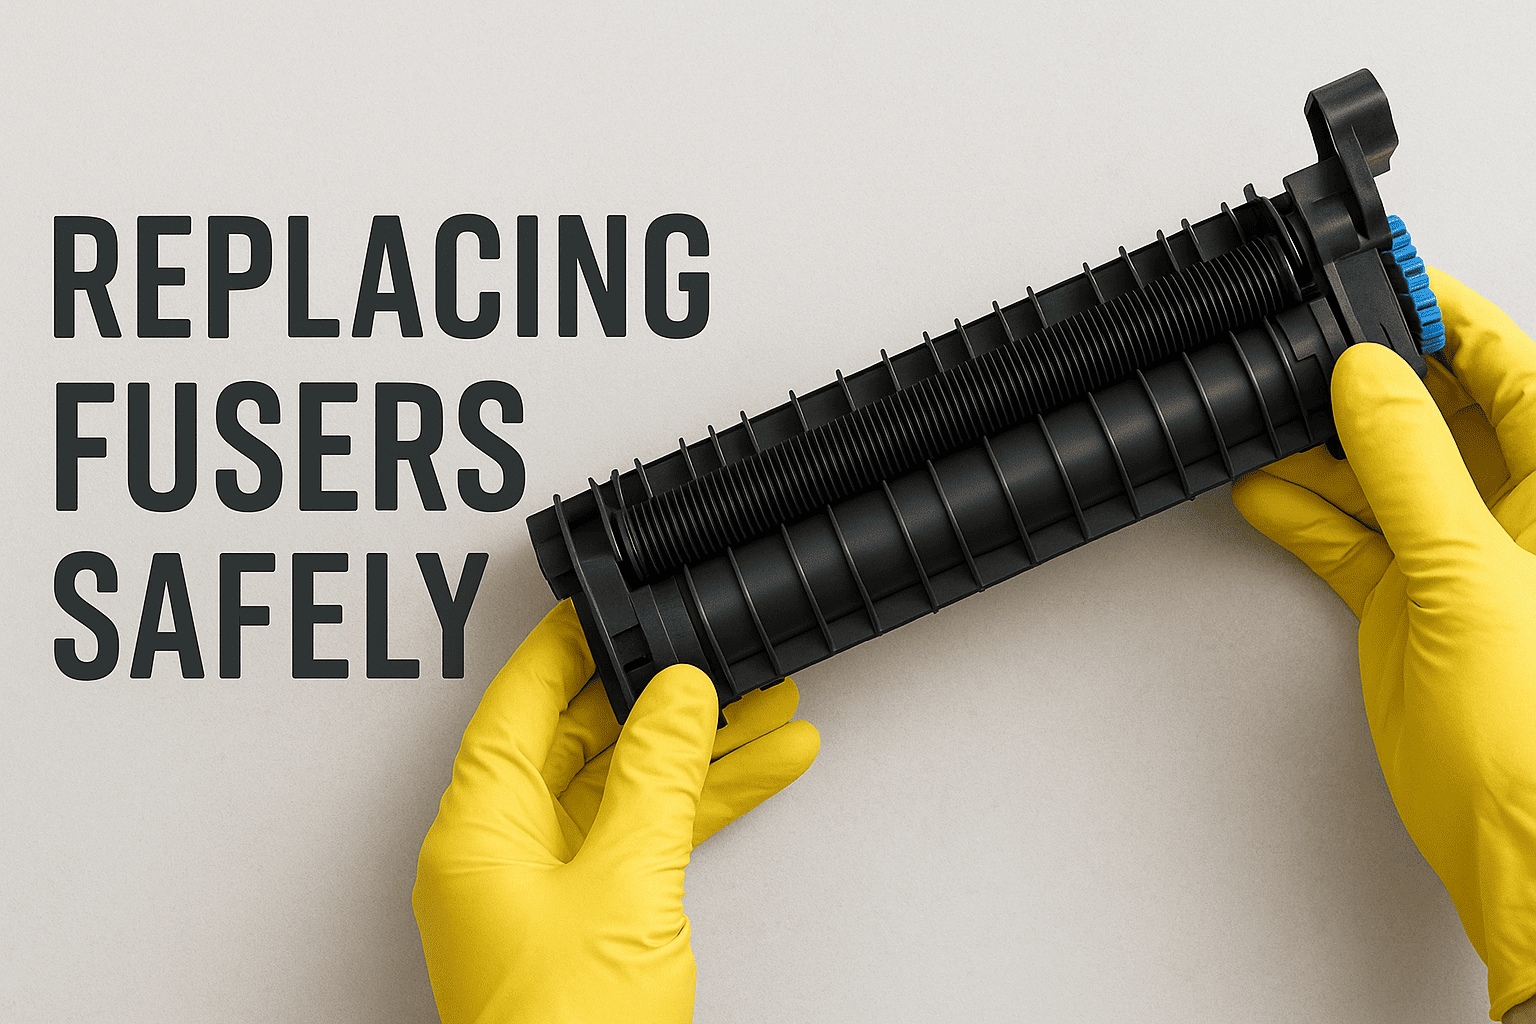
3. Remove the Old Fuser Carefully
Fusers are usually secured with two locking levers or screws. Steps:
- Release the latches or screws
- Pull the fuser straight out using the side handles
- Avoid touching the rollers directly, as oils from hands can affect performance
Take your time to prevent accidental damage to nearby components.
4. Install the New Fuser
Once the old unit is removed, slide the replacement fuser into the same position until it fits securely. Tip: Ensure that the connectors align properly and the fuser locks into place with a click. Improper installation may trigger error codes or cause feeding issues.
5. Secure the Locks or Screws
Tighten any screws or locks used to hold the fuser in position. A properly secured fuser ensures even pressure and reliable performance during printing.
6. Close the Access Panel
Close the rear or front access door carefully until it latches. If the panel is slightly open, the printer may display a cover error or fail to detect the new fuser.
7. Turn On the Printer and Reset Fuser Settings
Plug the printer back in and turn it on. Some printers automatically detect the new fuser, while others may require manual resetting through the control panel. Tip: Refer to your printer’s instructions to reset maintenance counts or clear fuser-related alerts.
8. Print a Test Page
After installation, print a test page to verify the print quality. Check for proper toner bonding, consistent darkness, and smooth output. If issues appear, ensure the fuser is seated correctly or consult support documentation for troubleshooting steps.
Safety Tips to Remember
- Let the printer cool completely before touching the fuser
- Handle components gently and avoid touching heated surfaces
- Always use a fuser compatible with your printer model
- Follow the manual closely for correct installation steps
- Keep the workspace clean to avoid dust contamination
Taking these precautions ensures a safe and smooth replacement process.
How to Extend Your Fuser’s Lifespan
Proper care can significantly increase the life of a fuser. Tips:
- Use high-quality paper suitable for laser printers
- Avoid printing on heavy or coated media without proper settings
- Keep the printer in a dust-free environment
- Perform regular cleaning and maintenance
A well-maintained fuser ensures consistent print results and avoids costly breakdowns.
Final Thoughts
Replacing a fuser may seem technical, but with the right steps, it is a straightforward and safe process. Understanding the importance of the fuser and recognizing early signs of wear helps prevent print issues and downtime. By following this guide and taking the necessary safety precautions, you can install a new fuser confidently and maintain reliable printing performance for a longer period.